
CAUTION: Computer contain sensitive electronic components that are easily damaged by static electricity and excessive shock. When handling the power supply and other components, ensure you are properly grounded using an anti-static mat or similar device. If anti-static equipment is not available, ground yourself by touching the exterior of the computer case or another large metal surface before handling any peripherals.
Steps

1
Installation of a power supply requires some mechanical skill and requires that you open your computer case to disconnect and reconnect wires. If you are unfamiliar with this kind of work, consider bringing your computer and replacement power supply to your local computer store for help.
If you are replacing an old power supply in your computer, ensure the computer is shut down and disconnect the power cord from back of the old supply.

2
Open your computer case. In most designs, the case is opened by removing two or three screws at the rear of the case and than sliding the covering panel back ward until it comes free. If your case is a tower type, ensure that you remove the panel that will expose the top of the computer’s motherboard. This is generally the left side panel. There are many different case designs, however, so if you are unsure of how to open your particular case, consult the user manual for your case or contact your local computer store for help.
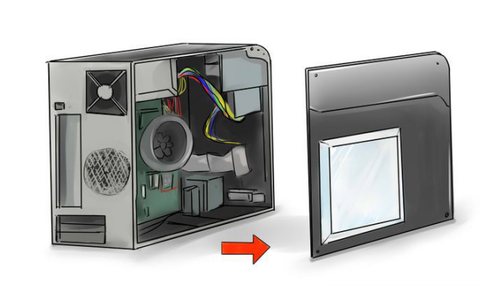
3
Open the computer case. In order to access the housing, you may need to remove some of your components, such as the CPU fan. This will depend on your case layout. With the computer case open, review the connectors being used from your old power supply. If you are building a new computer, review the connectors that you will need to use. Check the type of connector on your motherboard and use either 20 or 24 pin ATX power connector on the power supply as appropriate.

4
Disconnect the old power supply connections from inside your computer. Hard disk drive, CD drive and floppy disk drive connectors disconnect by pulling on the connector. The motherboard connector has a clip that must be pressed while pulling on the connector to release it. A rocking motion while pulling will aid in getting the connectors loose. Never pull on the wires of a connector to unplug it. Mount the power supply. Most housings allow you to slide the power supply in, and it will usually only fit one way. Make sure that any fans on the power supply are not blocked, and that you can screw it in from the back with all four screws. If you can’t, then the power supply may be inserted incorrectly. Mount the power supply securely with all four screws before moving on. You can use standard ATX case screws if the power supply didn’t come with any.

5
Plug in the connectors. Once the power supply is secured, you can start wiring the interior of the computer. Take your time to ensure that no component is forgotten, and to place the wires in a way that doesn’t interfere with system fans or cooling. You will likely have more connectors that places to connect to; try to tuck these extra cables out of the way. Connect the 20/24 pin connector to the motherboard. This is the largest connector on the power supply. Most modern motherboards require the 24-pin connector, while older motherboards will only use the first 20 pins. Some power supplies have a detachable 4-pin connector to make connecting old motherboards easier. Connect the 12V power to the motherboard. Older motherboards use a 4-pin connector, while newer ones use an 8-pin. This powers the processor, and should be clearly marked on the cable or in your power supply’s documentation. Connect your graphics card. Mid- and high-end graphics cards will require one or multiple 6- and 8-pin connectors. These will be marked as PCI-E connectors. Connect your drives. Most drives use SATA power connectors, which are thin plugs. If you have older drives, then you will need to connect via Molex connectors, which are 4 horizontal pins. There are adapters to turn Molex connectors into SATA for older power supplies.

6
Close your case. Once everything is connected, you can close of the case and plug your monitor and peripherals back in. Plug the power supply into the wall and ensure that the switch on the back is set to on.
7
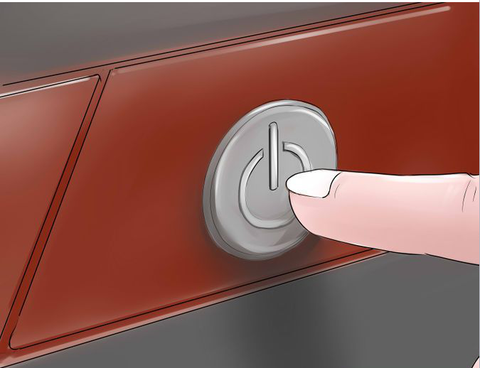
Turn on your computer. If everything is connected and powered properly, the fan on the power supply should turn on and your computer will boot like it normally would. If you hear a beep and nothing happens, then something inside is not connected correctly, or the power supply is not providing enough power to your components.


